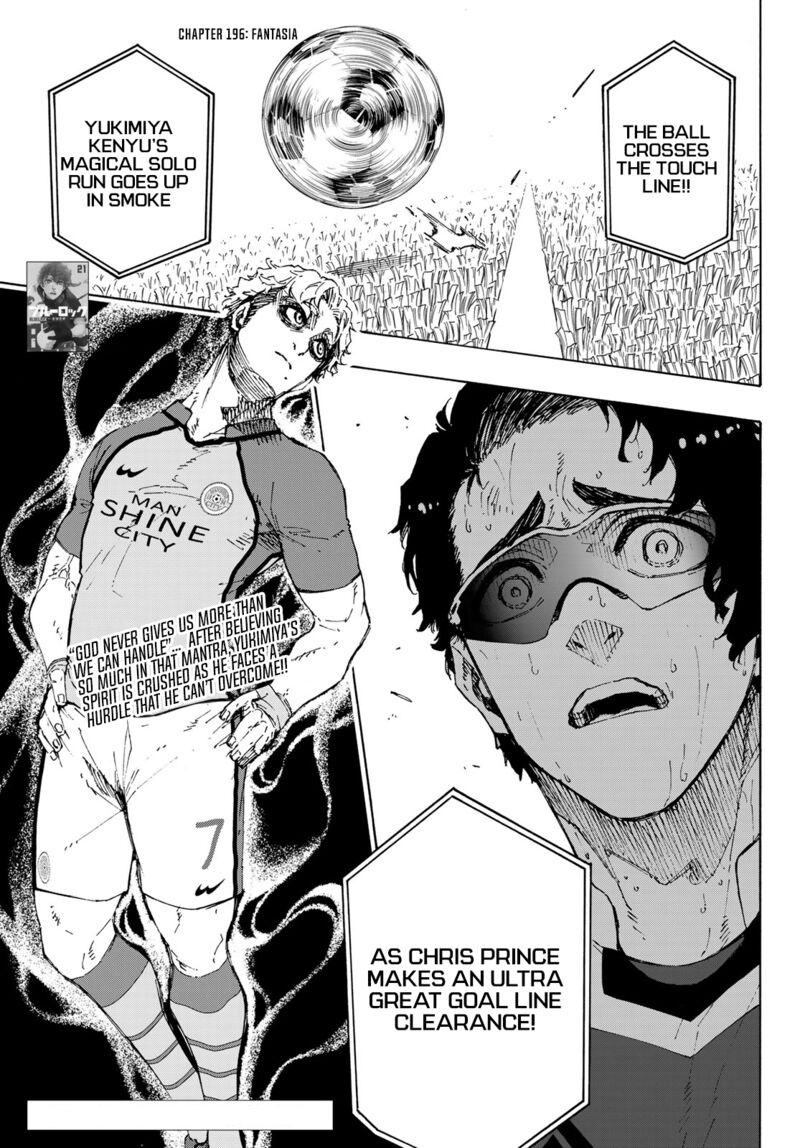
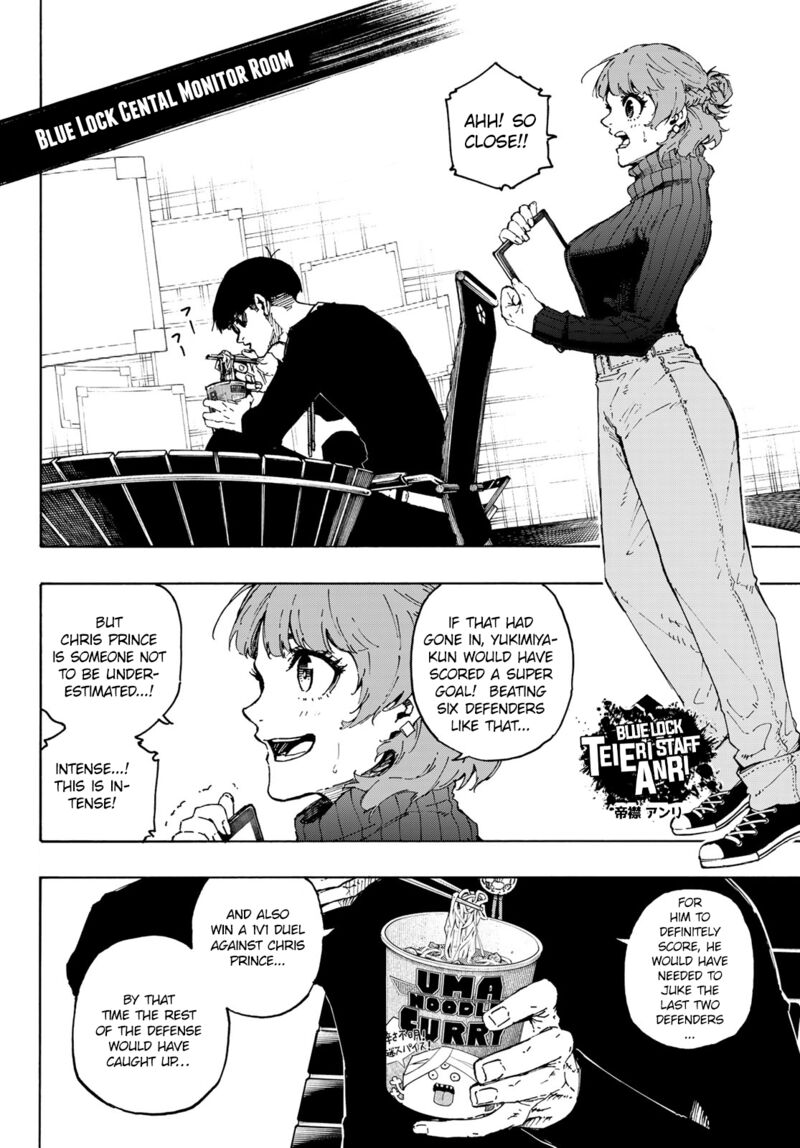
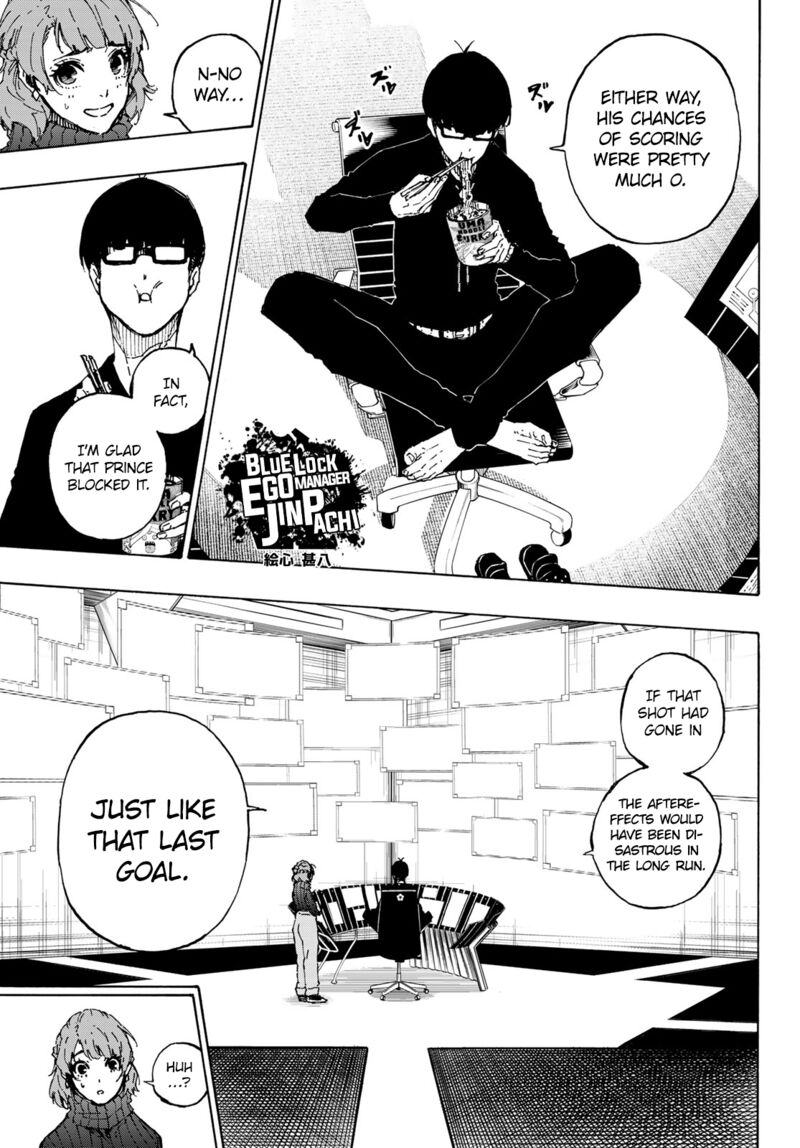
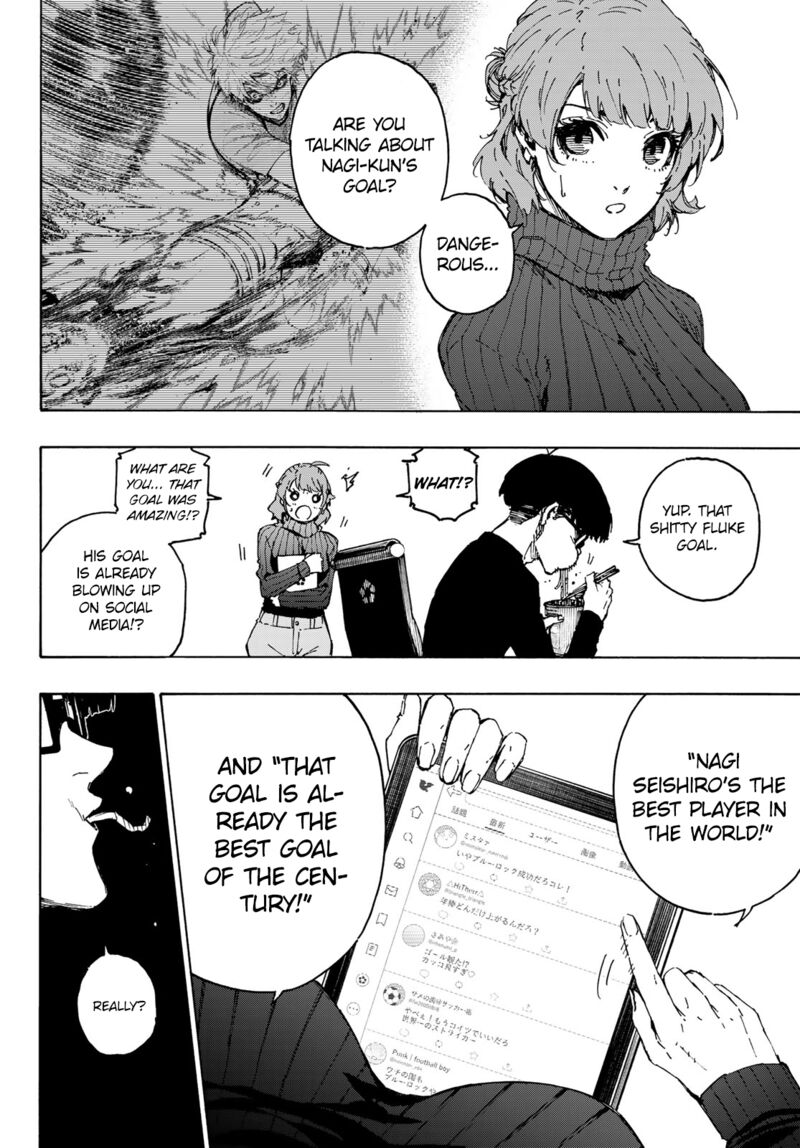
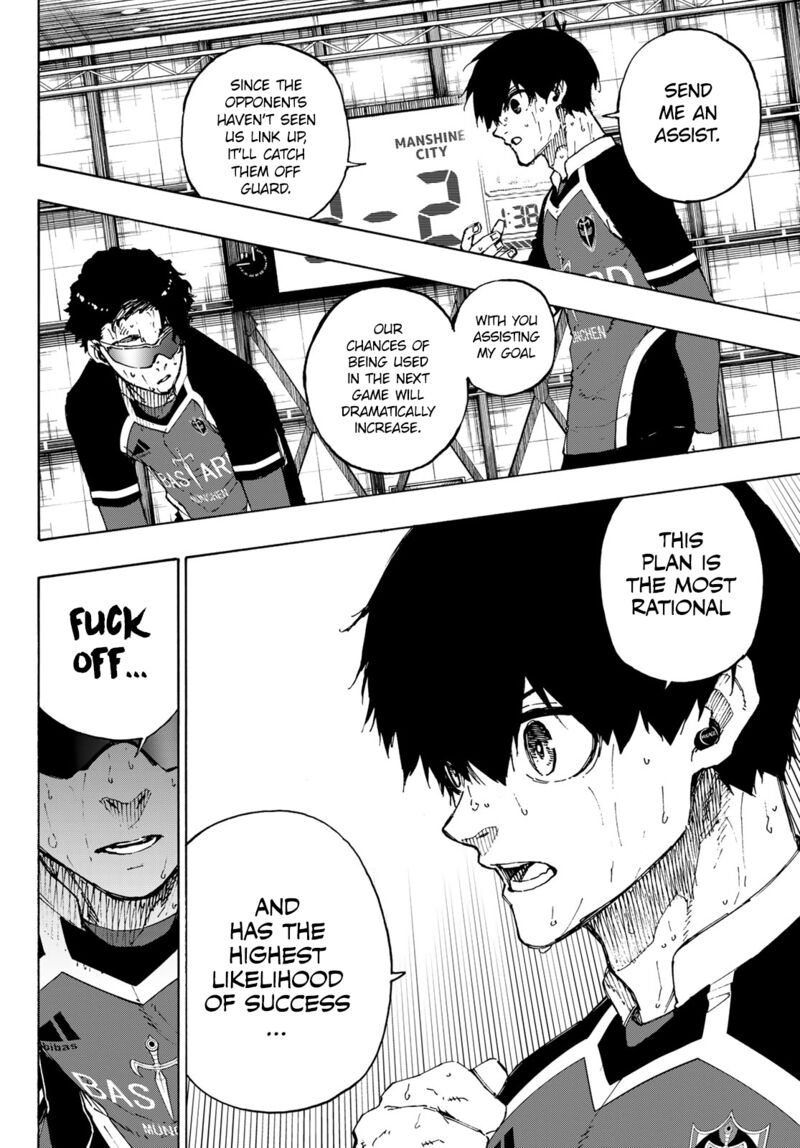
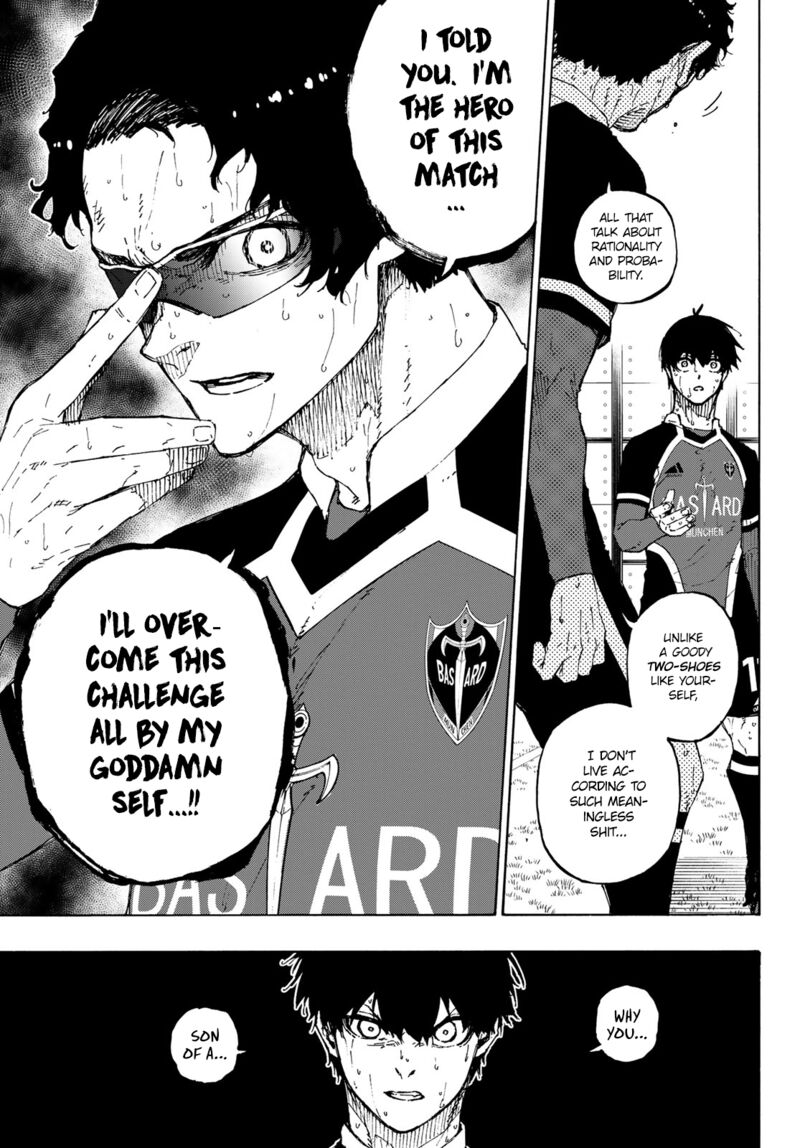
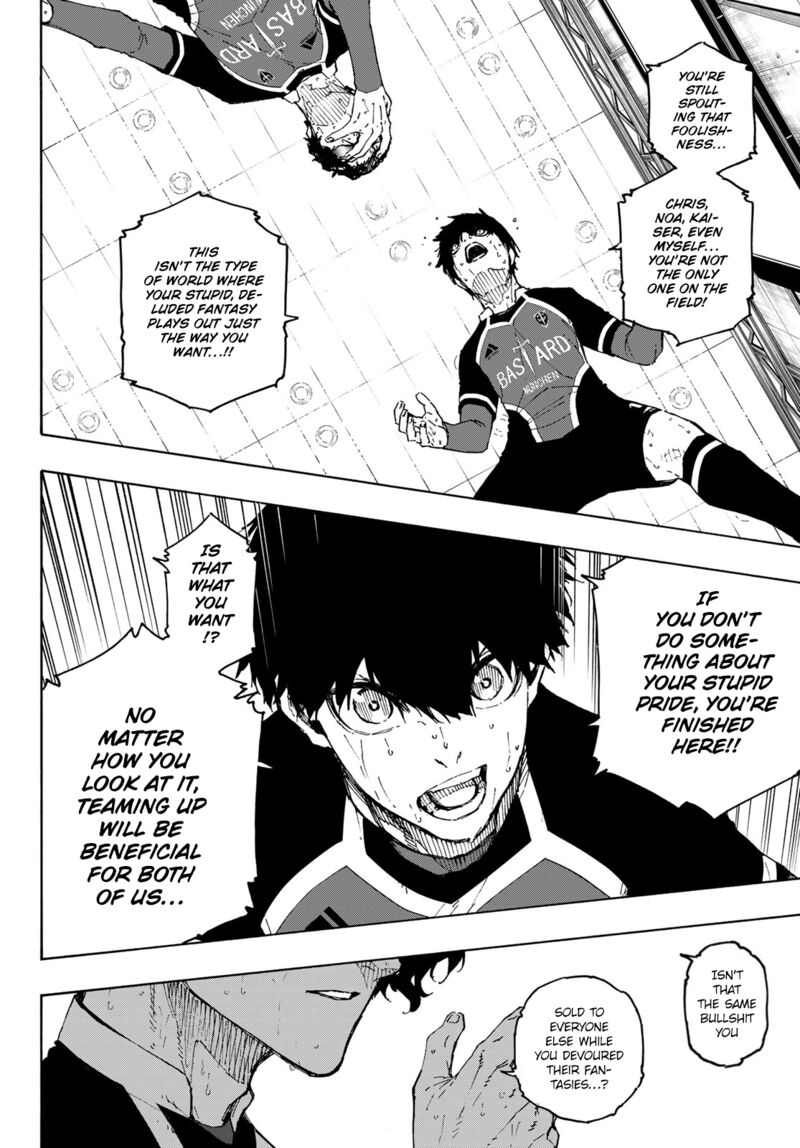
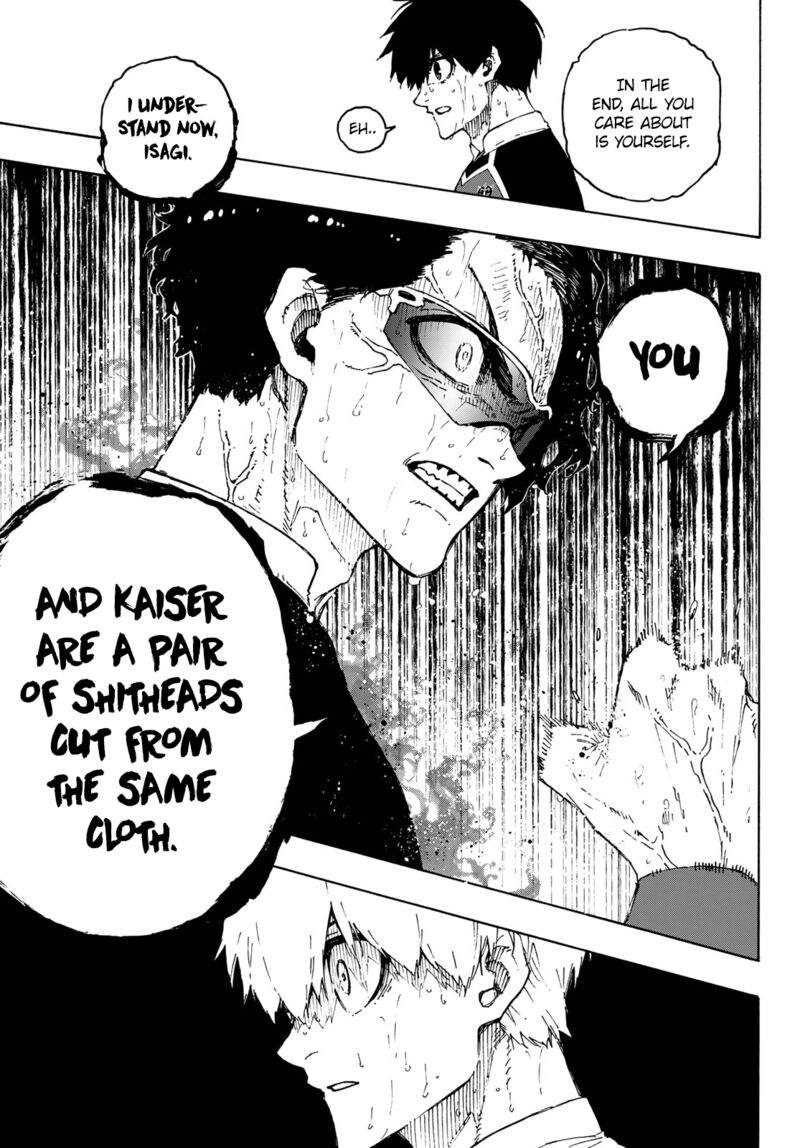
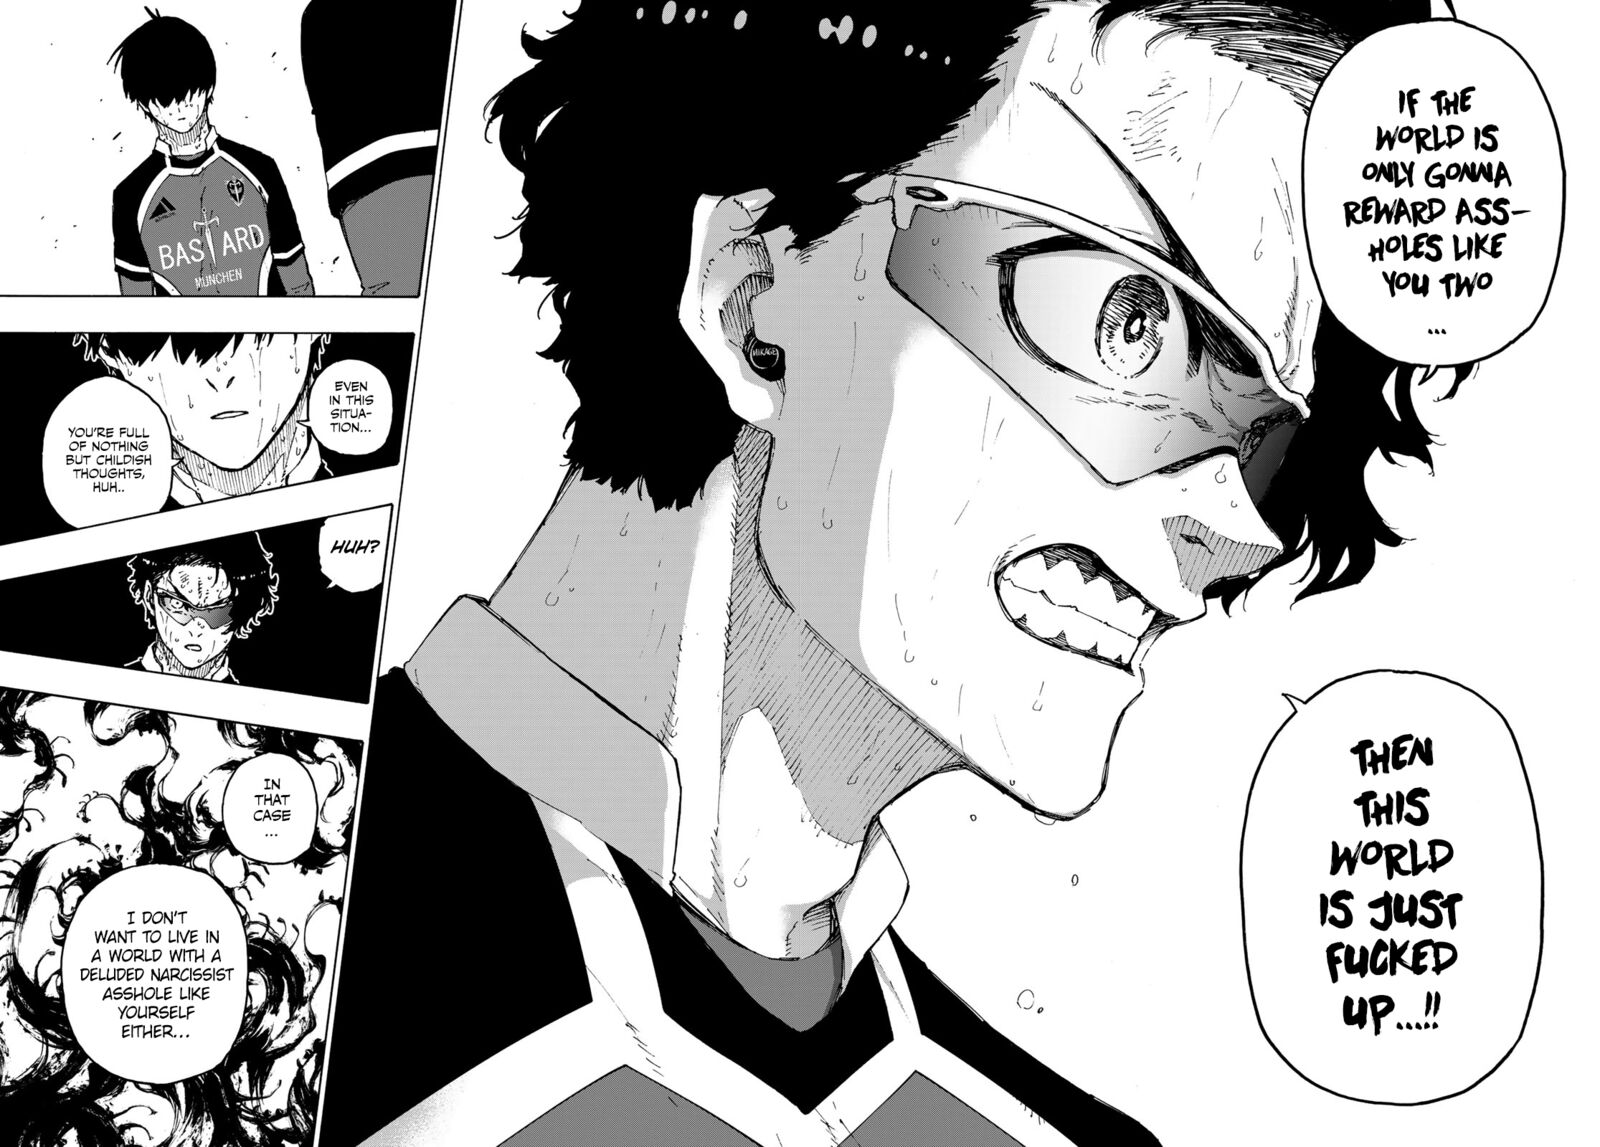
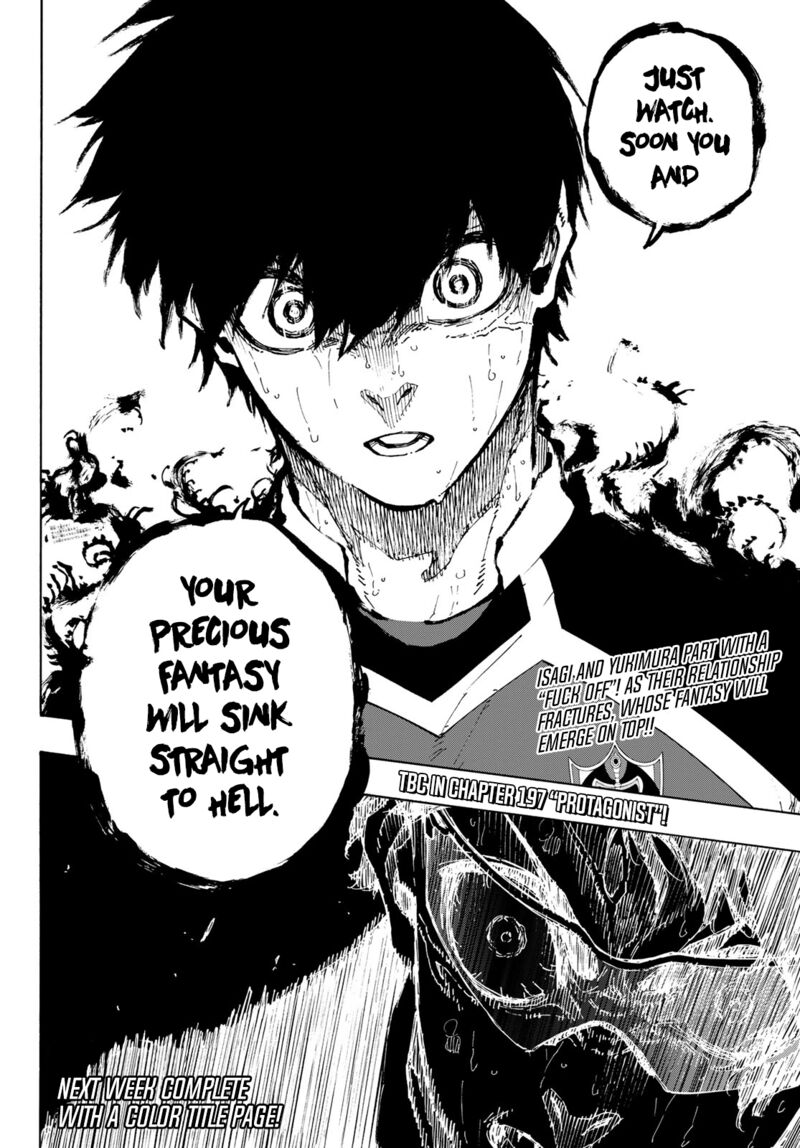
Blue Lock, Chapter 196

Look Back, Chapter 2 image blue_lock_196_1

Look Back, Chapter 2 image blue_lock_196_2

Look Back, Chapter 2 image blue_lock_196_3

Look Back, Chapter 2 image blue_lock_196_4

Look Back, Chapter 2 image blue_lock_196_5

Look Back, Chapter 2 image blue_lock_196_6

Look Back, Chapter 2 image blue_lock_196_7

Look Back, Chapter 2 image blue_lock_196_8

Look Back, Chapter 2 image blue_lock_196_9

Look Back, Chapter 2 image blue_lock_196_10

Look Back, Chapter 2 image blue_lock_196_11

Look Back, Chapter 2 image blue_lock_196_12

Look Back, Chapter 2 image blue_lock_196_13

Look Back, Chapter 2 image blue_lock_196_14

Look Back, Chapter 2 image blue_lock_196_15

Look Back, Chapter 2 image blue_lock_196_16

Look Back, Chapter 2 image blue_lock_196_17

Look Back, Chapter 2 image blue_lock_196_18